Start with the shot, not the software
A garment for a waist-up portrait needs different investment from a floor-length dress seen during a full-body turn. Write down the intended shot size, camera distance and performance before building detail. Identify which features tell the story: an exaggerated shoulder, a translucent sleeve, a heavy hem or a sharply tailored waist. These are approval targets, not merely aesthetic references. A technically tidy asset can still fail if its defining shape disappears in the planned framing.
Collect front, side and back references where possible. Record whether each reference describes construction, surface response or atmosphere. A photograph of crushed silk cannot establish an accurate bending model by itself, but it can establish the scale and direction of folds you want to investigate. Keep reference interpretation explicit so an artist does not mistake an editorial lighting effect for a property of the fabric.
Build a stable construction system
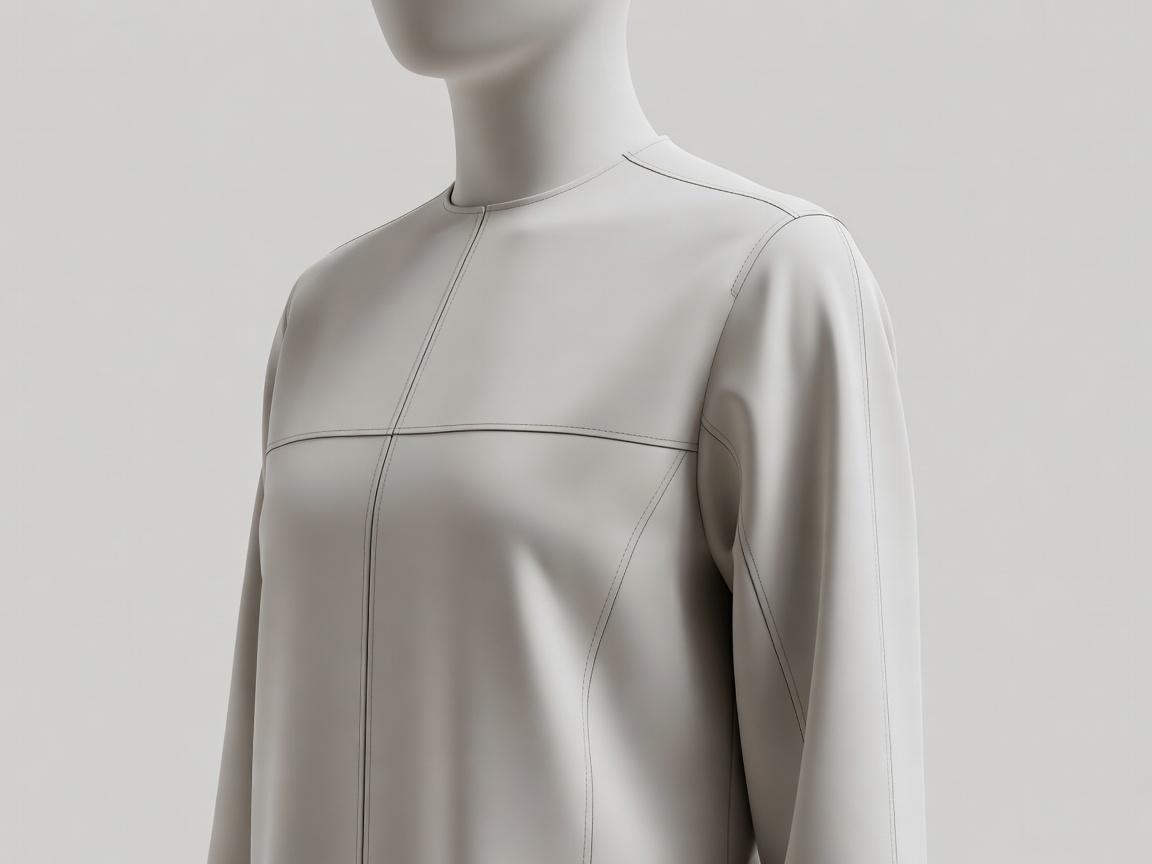
CLO and Marvelous Designer support pattern-led garment workflows; Blender, Autodesk Maya and Houdini can support modeling, cleanup and downstream preparation. None replaces the need to understand panel relationships. Check seam direction, panel orientation and layer order before increasing simulation detail. An incorrectly joined seam can appear acceptable in a neutral pose and then pull the entire sleeve into an implausible shape during a reach.
Establish a single working scale and verify it after every transfer. A unit mismatch changes apparent thickness, collision margins and the meaning of many solver settings. Include a simple known-length reference in the package. Keep the mannequin’s neutral pose and proportions versioned with the garment, because a subtle shoulder-width change can alter fit throughout the upper body. Do not silently replace the body underneath an approved costume.
Use enough mesh resolution to represent the smallest fold that matters in the final shot, not the smallest fold imaginable. A dense simulation mesh may be unnecessary for a distant silhouette and expensive to iterate. Separate the render surface from the simulation surface where the workflow supports it, then test the transfer through a difficult pose. Retopology, subdivision and thickness must preserve the approved outline rather than redesign it accidentally.
Distinguish cloth behavior from appearance
Simulation parameters describe behavior: stretching, bending, damping and contact. Shading parameters describe how the surface responds to light. Roughness cannot make cloth heavier, and a stiffer bending model cannot create the correct velvet sheen. Keep those decisions in separate review passes. First assess movement under simple lighting; then assess shading on a stable or cached pose. This prevents an attractive shader from concealing a mechanical problem.
Adobe Substance 3D Painter can help author surface detail, while Substance 3D Designer supports procedural material construction. For close work, establish a believable physical scale for weave, stitching and normal detail. Test those details at delivery resolution. Very fine patterns may shimmer or alias in motion even when they look attractive in a large still. Use displacement only where the silhouette or shadow genuinely needs it.
| Role | Main responsibility | Validation test |
|---|---|---|
| Simulation mesh | Stable cloth deformation | Turn, reach and recovery |
| Collision proxy | Reliable contact | Armpits, waist and layered hems |
| Render surface | Visible finish and detail | Close-up under final lighting |
Accessories deserve their own attachment logic. A rigid buckle, a soft strap and a chain should not inherit identical deformation. State which elements follow the rig, which are constrained and which receive secondary dynamics. Review these relationships before animation begins, especially when the camera will linger on a fastening or a swinging bag.
Make the next artist’s starting point explicit
A useful asset package includes source files, exported geometry, texture paths, units, neutral pose, material assignments and a short changelog. OpenUSD can represent scene structure and variants, while Alembic is commonly used for baked geometry interchange. Choose formats according to the receiving application and test the exact export path. A format name alone does not guarantee preservation of every material, constraint or simulation setting.
Approve a compact turntable and a short motion stress test before declaring the asset ready. Record known limitations, such as a collar that needs corrective shapes or a lining that cannot tolerate extreme arm elevation. This is production information, not an admission of failure. The purpose of asset approval is to establish a reliable operating range so animation and camera teams can work deliberately within it.
Handoff gate
Send the approved silhouette, scale reference, collision setup and stress-test result together. If the next stage cannot reproduce the garment, the handoff is incomplete.